Controlling Exposure In Endoscopy Studies
- rbramer
- Jan 12, 2021
- 2 min read
When it comes to endoscopy studies, controlling camera exposure is a key component for getting the best quality study images.
What is exposure?
Exposure refers to the amount of light taken in by a camera to produce an image. There needs to be a light source to capture a photo. In standard photography, photographers use the sun or studio lighting as their light source and adjust their camera’s exposure settings accordingly. This can be done in one of three ways:
Opening or closing the iris of the lens to allow more or less light to pass through to the sensor.
Increasing or decreasing the sensitivity of the of the sensor. This is commonly referred to as ISO, and is only present in digital cameras.
Increasing or decreasing the cameras shutter speed. Lower shutter speeds let more light in but take longer to produce an image.

Typically in standard photography, higher end cameras with interchangeable lenses will use a combination of the three above techniques to control exposure. Additionally, more expensive cameras have physically larger sensors allowing higher image sensitivity.
Because there is no ambient light inside the human body, clinicians must rely on the light source of their endoscope to capture images. Generally speaking, the more light used, the easier it will be to control image exposure. Most endoscopic cameras allow for exposure control through automatic exposure.
What is automatic exposure?
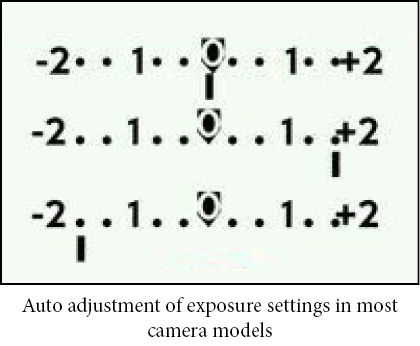
Automatic exposure is when the camera attempts to adjust exposure settings automatically

based on the amount of light in a study. If a study is too dark, the camera will try to compensate for this by increasing the ISO. Automatic exposure is great for beginners as it allows the clinician to focus on the study and not worry about the camera settings. However, it does have its drawbacks. The higher the ISO value used, the more noise will be present in an image, reducing its quality. If the light source is not adequate, an image will become overly grainy and generally unusable in a FEES report. Another issue with automatic exposure is dealing with swallow white out.
What is swallow white out?

Swallow white out occurs when the epiglottis folds down over the tracea and the tongue squeezes against the endoscope, reducing the distance the light can travel. This results in a completely overexposed image until the swallowing motion is completed. Due to the extreme change in lighting, automatic exposure endoscopy cameras will take some time to readjust their settings, resulting in an underexposed image that does not allow a clinician to capture the movement of the epiglottis completing the swallowing motion. The only way to overcome this limitation is to manually control the exposure of the camera.
This is why PatCom Medical is moving towards using endoscopy cameras that allow dynamic switching between automatic and manual exposure, giving the clinician the ability to capture every part of a swallowing study. To capture the movement of the epiglottis, switch your camera to manual mode and lock the exposure settings before a swallow occurs. This eliminates rapid underexposure after a swallow white out, allowing a clinician to see the tracea earlier which helps you detect aspiration better and offering a more complete study.


Comments